Welcome to Nintendo Life's Kirby and the Forgotten Land: Star-Crossed World walkthrough guide! In these guides we'll take you through every world and show you where to find every last Starry, how to complete each mission fully, and how to find everything you need to 100% this new DLC expansion.
Let's move on to the second area, Everbay Coast now, where the icy mysteries continue to unfold.
Subscribe to Nintendo Life on YouTube834k
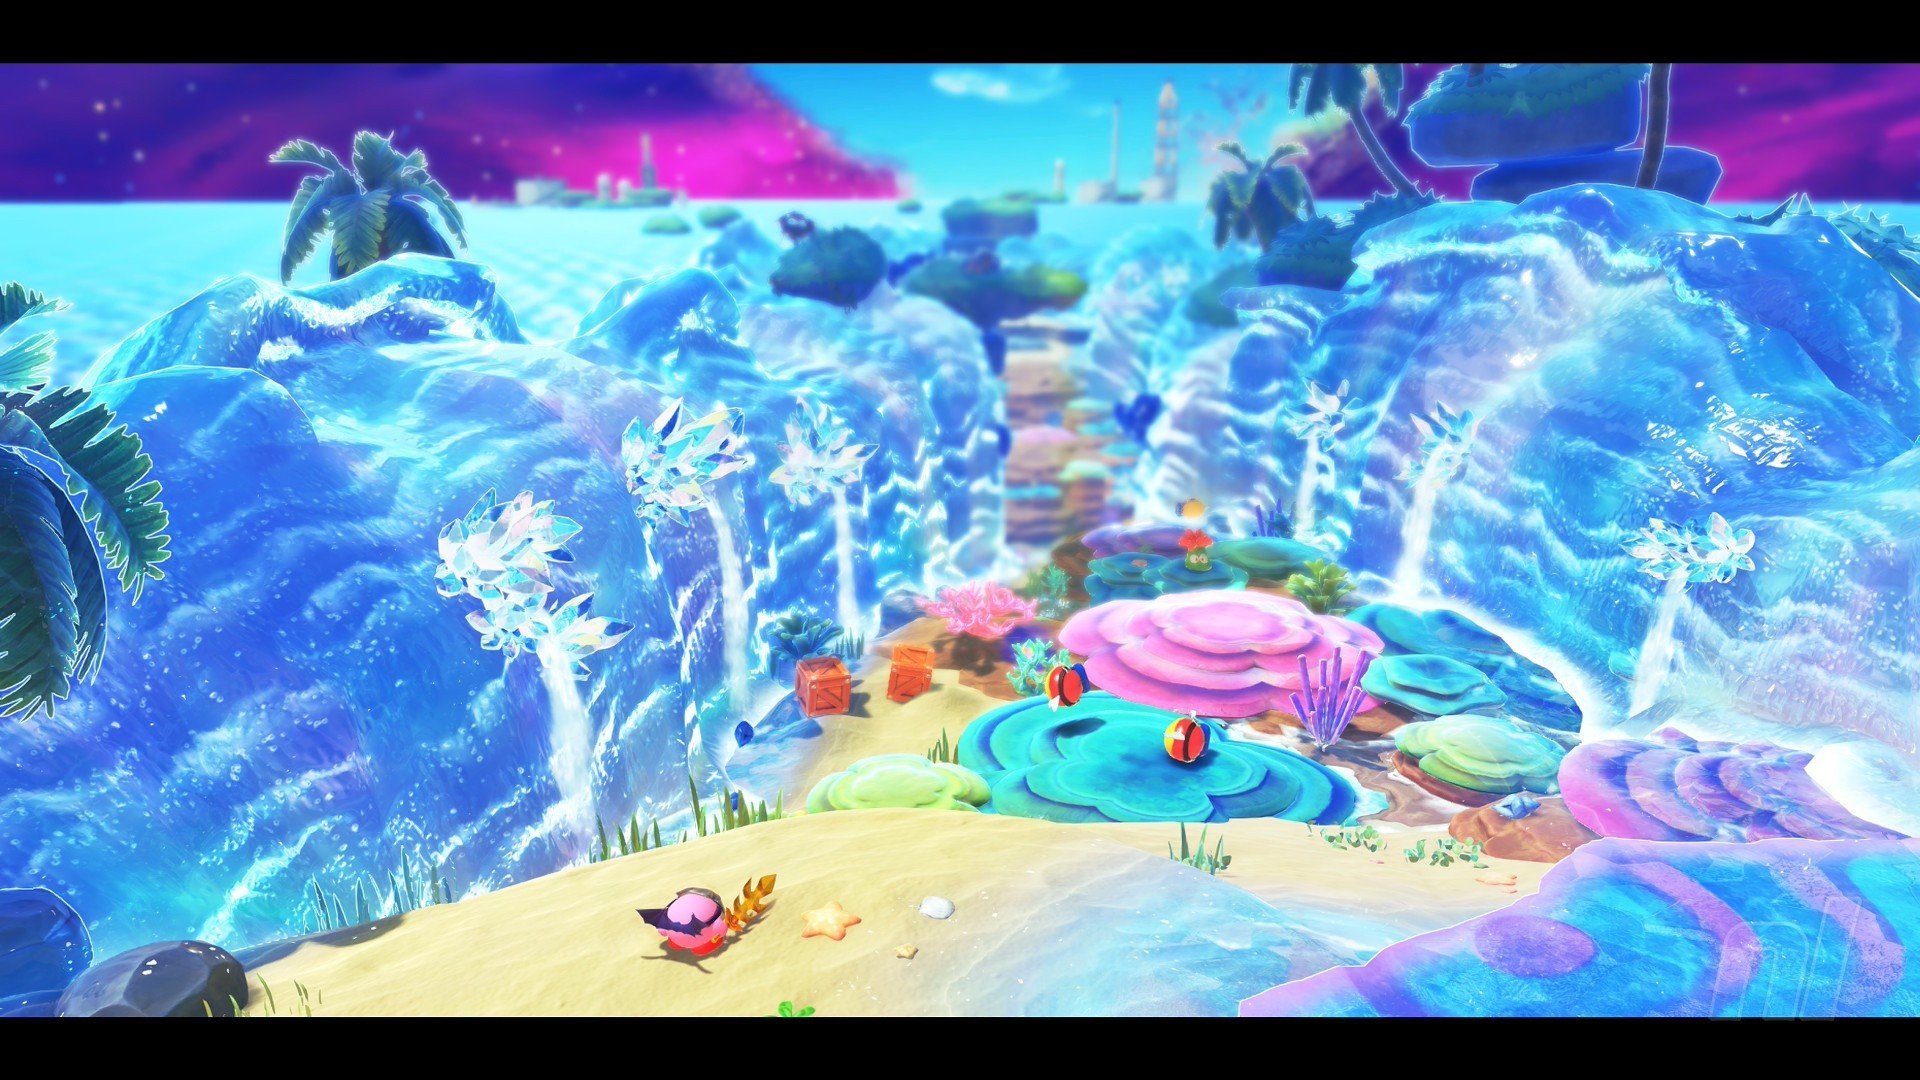
Star-Crossed World - Everbay Coast
1-1 Fallen Star Beach Missions
- Clear The Stage
- Save The Hidden Starries
- Find 7 Treasures In The Ocean
- Don't Get Eaten By A Gnawcodile
- Jump As A Gear, And Stick To A Big Sign
Clear The Stage
Save The Hidden Starries
The first Starry is yours once you beat the ice crystal monster. Again! Follow the path up to gather your prize once the battle is done.
To get this next Starry you'll need to hit the large pink crystal to the left of the area, as shown in the screens below - it's just before the final bunch of crocs in the level. Hit this and then get across and up all the platforms before time runs out.
Again, the storm ability makes this much easier as you can zoom past the crocs with ease.
This one requires you to collect all green shards along a wall using the cog transformation. Fairly easy stuff, and none of the pieces are hidden well. The only one that gave me an issue briefly was the 4th piece, which is hidden in some wooden crates on a ledge to the left as you move up the wall. Simples!
Find 7 Treasures In The Ocean
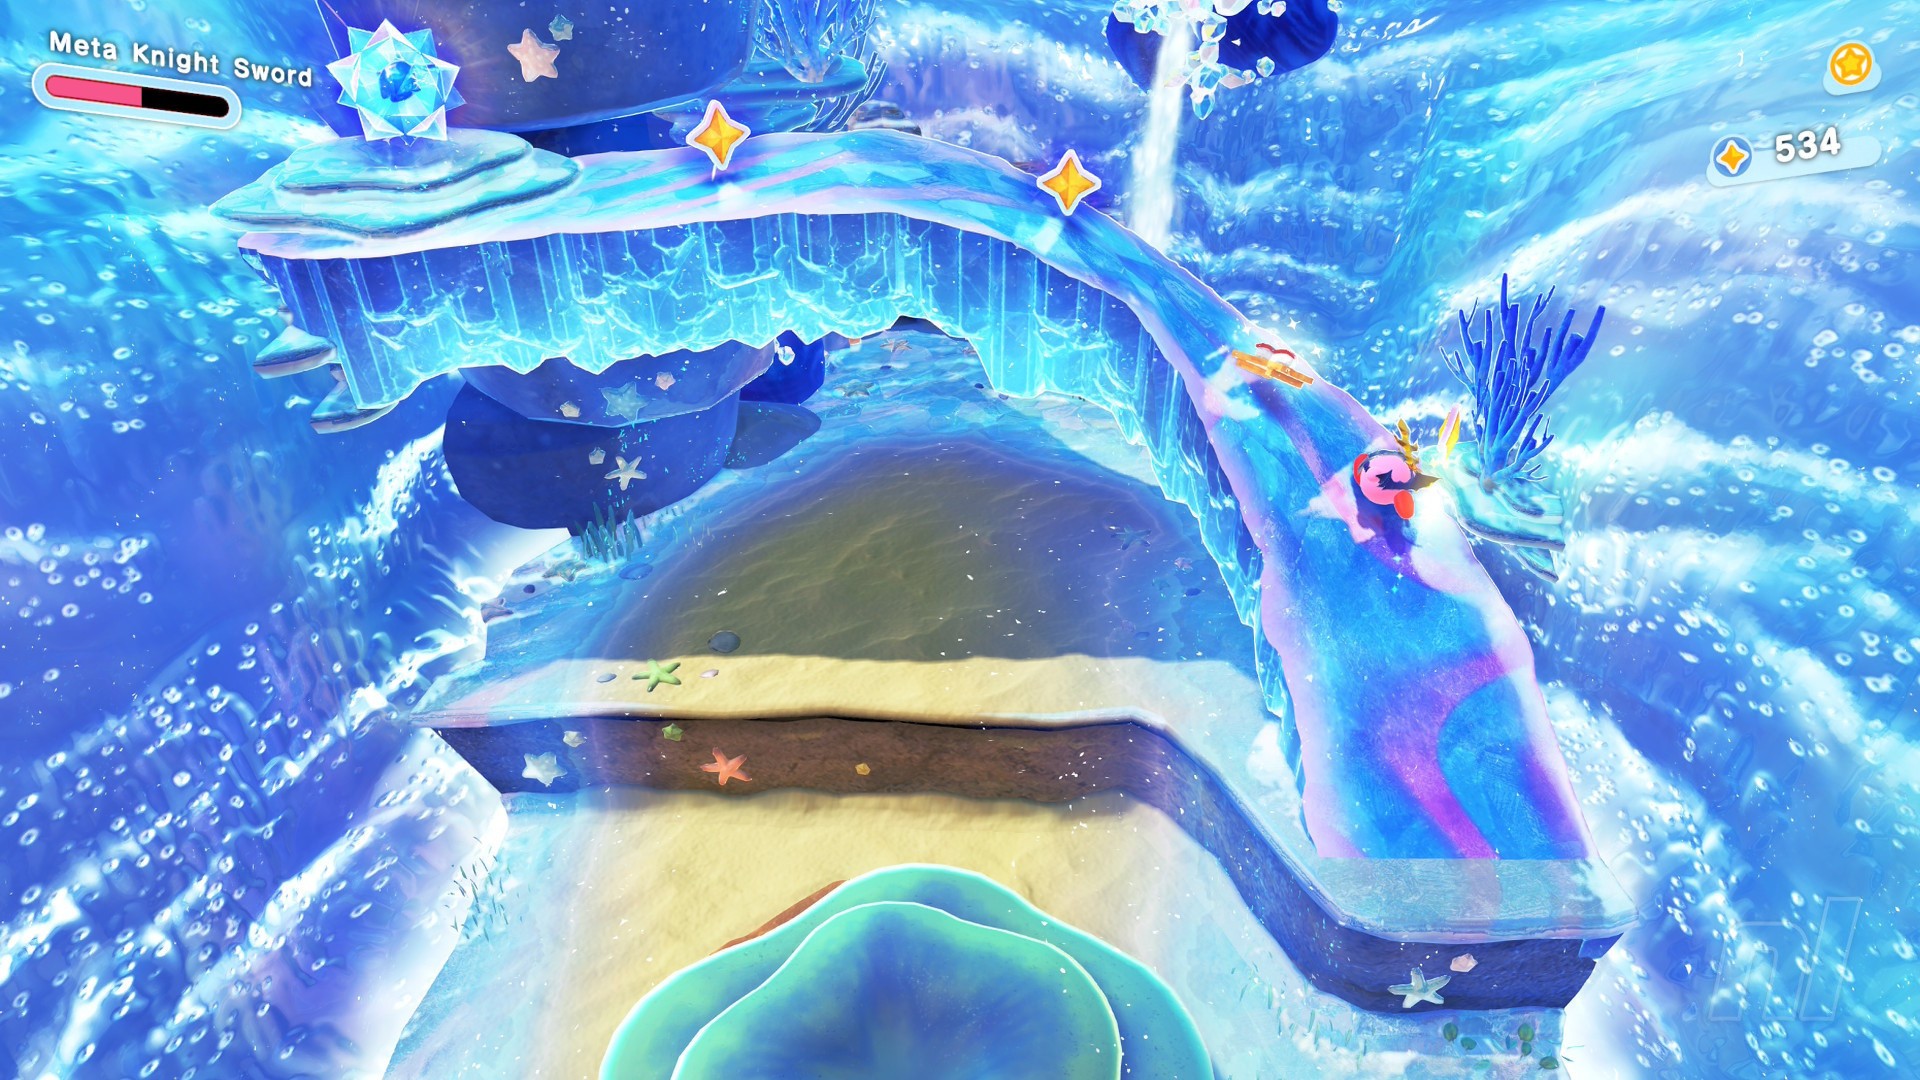
The first treasure is hidden in a chest under the coral that's exposed when the meteor strike parts the water. Follow the con trail on the right to sweep underneath and nab it.
The next treasure will reveal itself just a bit further along, when you hit a large crystal switch to the right side of the ball-chucking seal, trust us, you can't miss this guy.
This treasure takes a little getting at. In the area after you beat Fleurina, there are a bunch of crocs and green switches. Avoid the crocs to complete the next mission, and also make sure to hit all switches to open the path on the left of the area. From here, use Fleurina's storm to jump then cross onto the raised platform with the treasure chest!
This next one is just a little further along, and again, use Fleurina's storm ability to blow the sand away and reveal it.

The next one is almost right beside our last, just use your storm to whoosh along the right wall of the level to reveal a quite hard-to-see little nook in the ice. Head in here for the next chest!
Once you have the Cog transformation, head up the wall, right to the top. Once up here, you'll see this chest on the left of the area.
Just a little further along, and roll across the advertising board to then blast through a weakened wall to nab this final chest. Good job!
Don't Get Eaten By A Gnawcodile
I'd say the best way to do this is using the storm ability to whoosh by. However, swimming is the second-best option, as puffing along in the air will get you nibbled if you aren't quick.
Jump As A Gear, And Stick To A Big Sign
Just as you come to the end of the level, there's a big jump to make, you can't miss it, in cog-mouth mode. Get some speed up as you depart the wall and aim at the huge billboard to complete this one!
1-2 Washed Away At The Cement Summit Missions
- Clear The Stage
- Save The Hidden Starries
- Clear The Secret Room Without Drowning With Spring Mouth
- Play With The Golden Fish In The Waterworks
- Win The Battle On Water With Cone Mouth
Save The Hidden Starries
The first Starry is reached by making your way to the very top of the opening tower area. To do this, hit all of the switches you can see in this opening. You'll find one hidden at the base of the tower in some grass and a further few reveal themselves to the left of the area as you grab Spring-Mouth.
Once at the top, smash the ice to drop down into the waterworks. Here you need to gather up five orange pieces. To do this, simply move through the water tunnel switching crystals and using the water flumes to ride up onto platforms.
There are plenty of enemies to grab the digger ability from as you go, so get digging up all those shiny spots, too, as you can see in our pics.
Now that we are already down in the waterworks, this next one is much easier! Move on past the crane mouth sequence and then hit the crystal switches in the next area to get up to the cone ability. Once you have the cone you can smash through the pyramid of metal boxes here to reveal your prize.
This Starry is right at the end of the level. Just before smashing the crystal at the end, turn back on yourself and find the switch hidden in the left corner. Now head up the ice ramp to find some cracked ground. Use cone mouth to clear this and nab the chest with your prize.
This last one can be found in the secret room, just make you way along all the ice platforms to the end, where it's waiting for you.
Clear The Secret Room Without Drowning With Spring Mouth
The secret room can be found before you go down into the waterworks. Simply move around the inner part of the tower, as you can see below, to turn the corner and find a door above some spiked enemies. Head in here and make sure not to...well, don't drown!
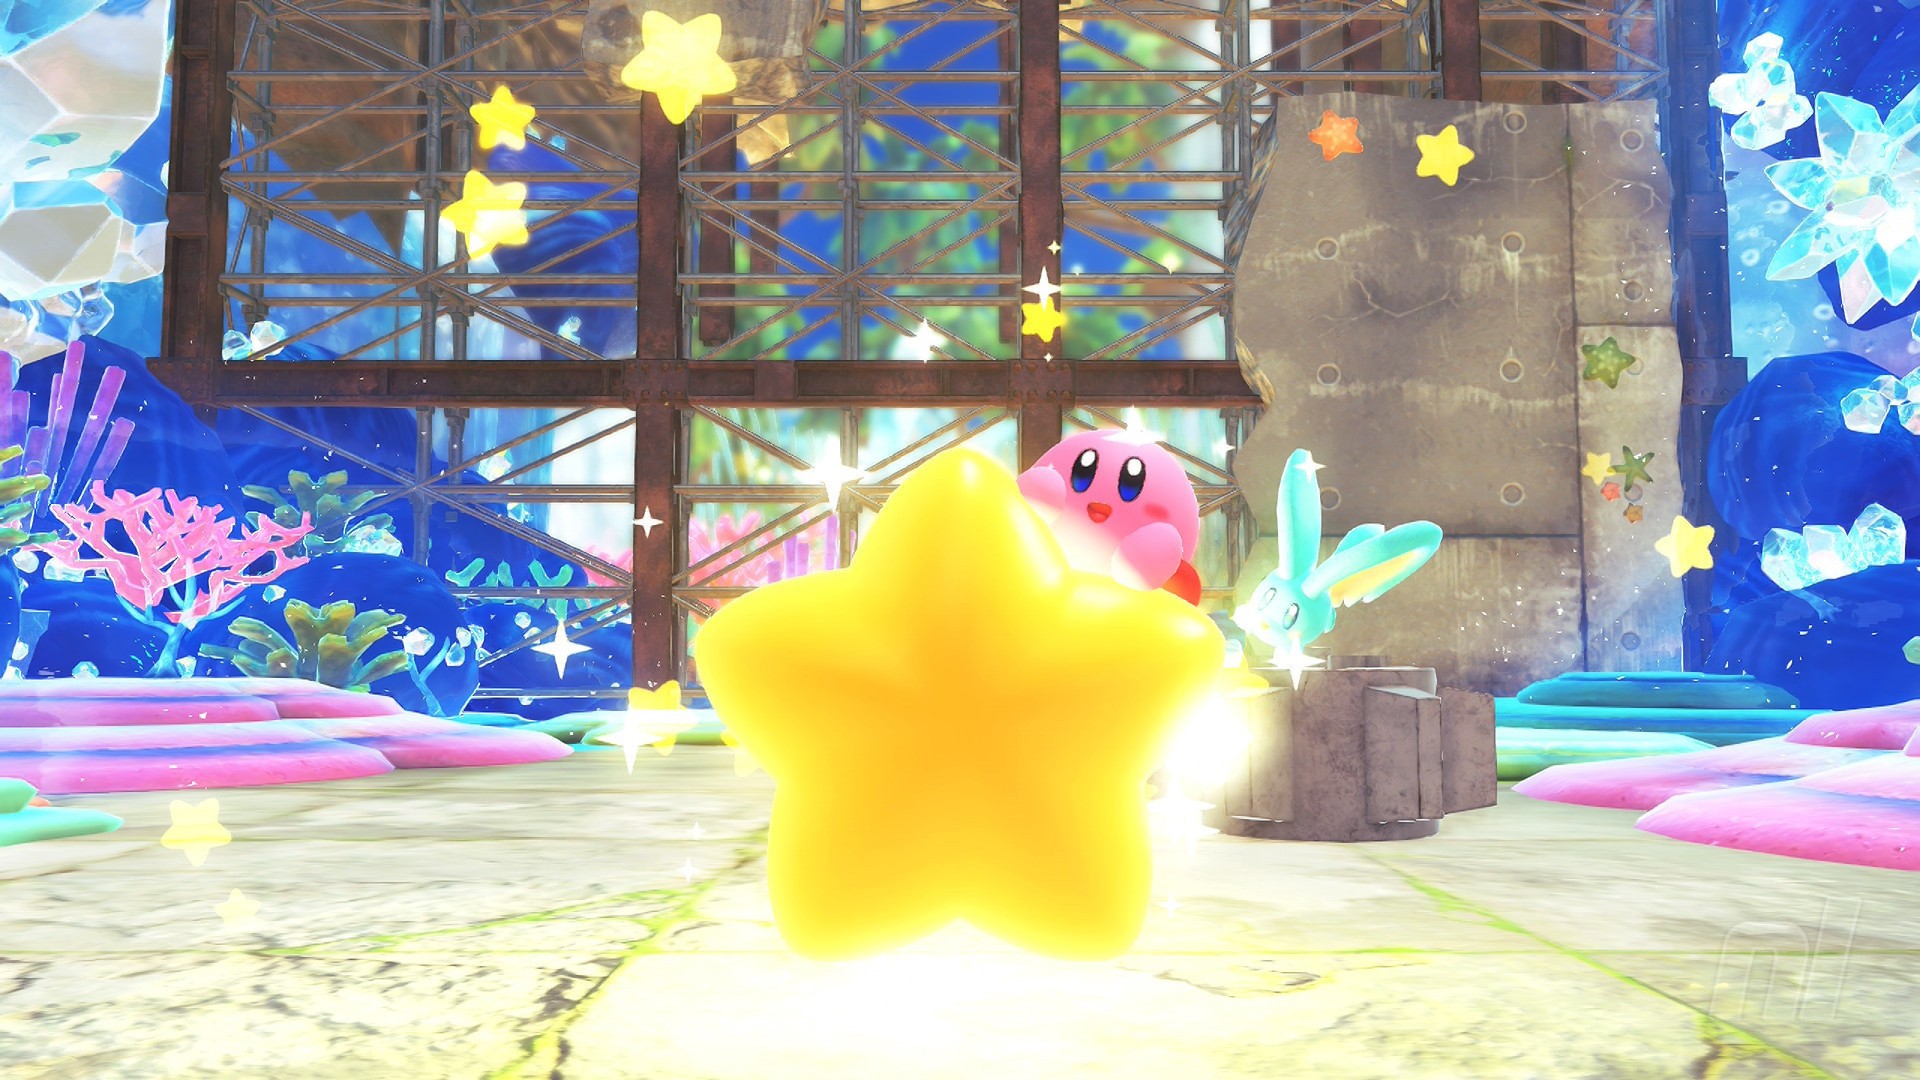
Play With The Golden Fish In The Waterworks
Down in the waterworks, you will find this little gold fishy to the right side of your screen, just a little further along from where we just found our first Starry. It's very easy to see as it glows golden in the water!
Win The Battle On Water With Cone Mouth
Still down in the waterworks, and you'll come to a battle with the ball-chucking seal from a little earlier. Now, the trick here is to do this scrap as Cone Mouth. Which, as it turns out, is quite easy!


Comments 0
Wow, no comments yet... why not be the first?
Leave A Comment
Hold on there, you need to login to post a comment...