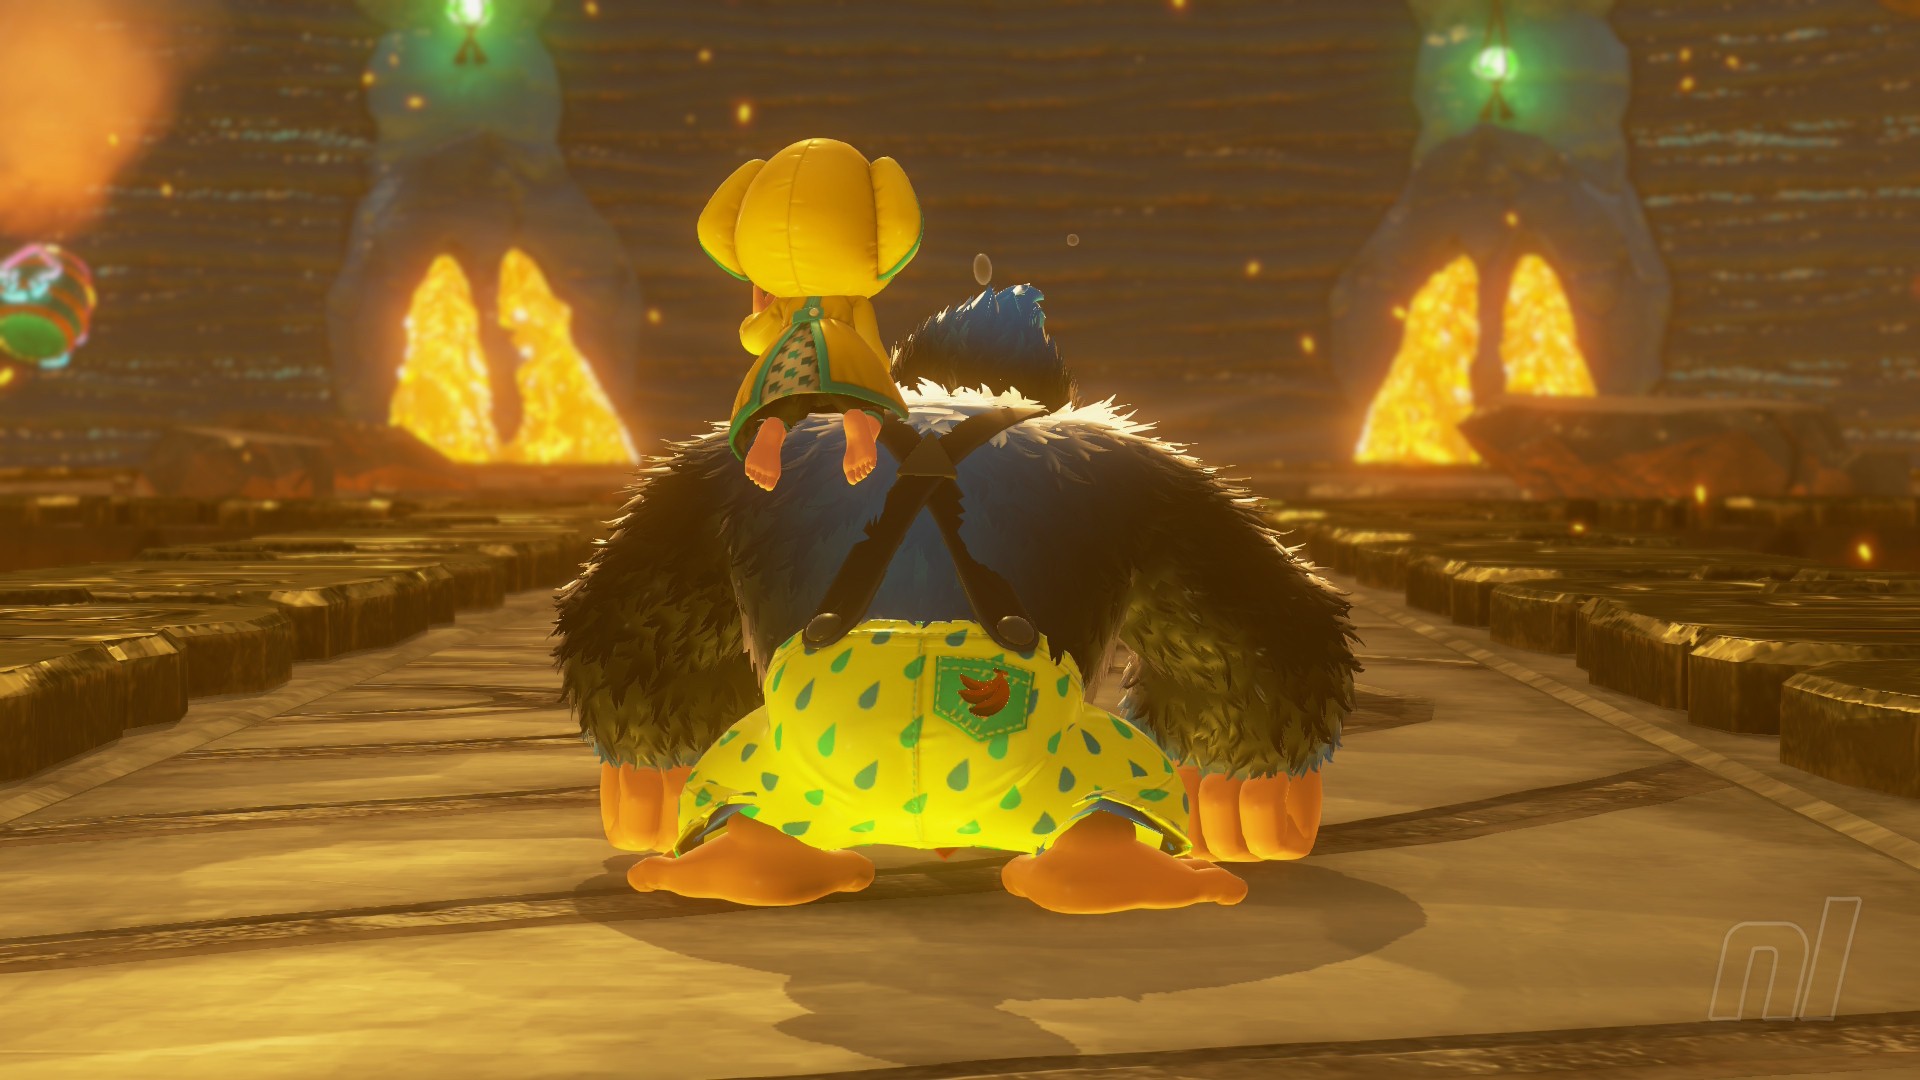
Pack your raincoat and stick your wellies on because it's time to take a trip to the Tempest Layer and tackle its big-bad Sinister Blusterwing.
In this guide, we'll be breaking down how to beat Donkey Kong Bananza's Sinister Blusterwing across all of its locations in the Tempest Layer with a full step-by-step walkthrough.
Subscribe to Nintendo Life on YouTube834k
Donkey Kong Bananza: Sinister Blusterwing Walkthrough
There are three different phases to this fight, each taking place on a different sublayer in the Tempest region.
There's plenty of adventuring to do in between the phases, so feel free to only read the relevant section of this guide for now, and come back when you find the flying foe again.
Phase 1 - SL900
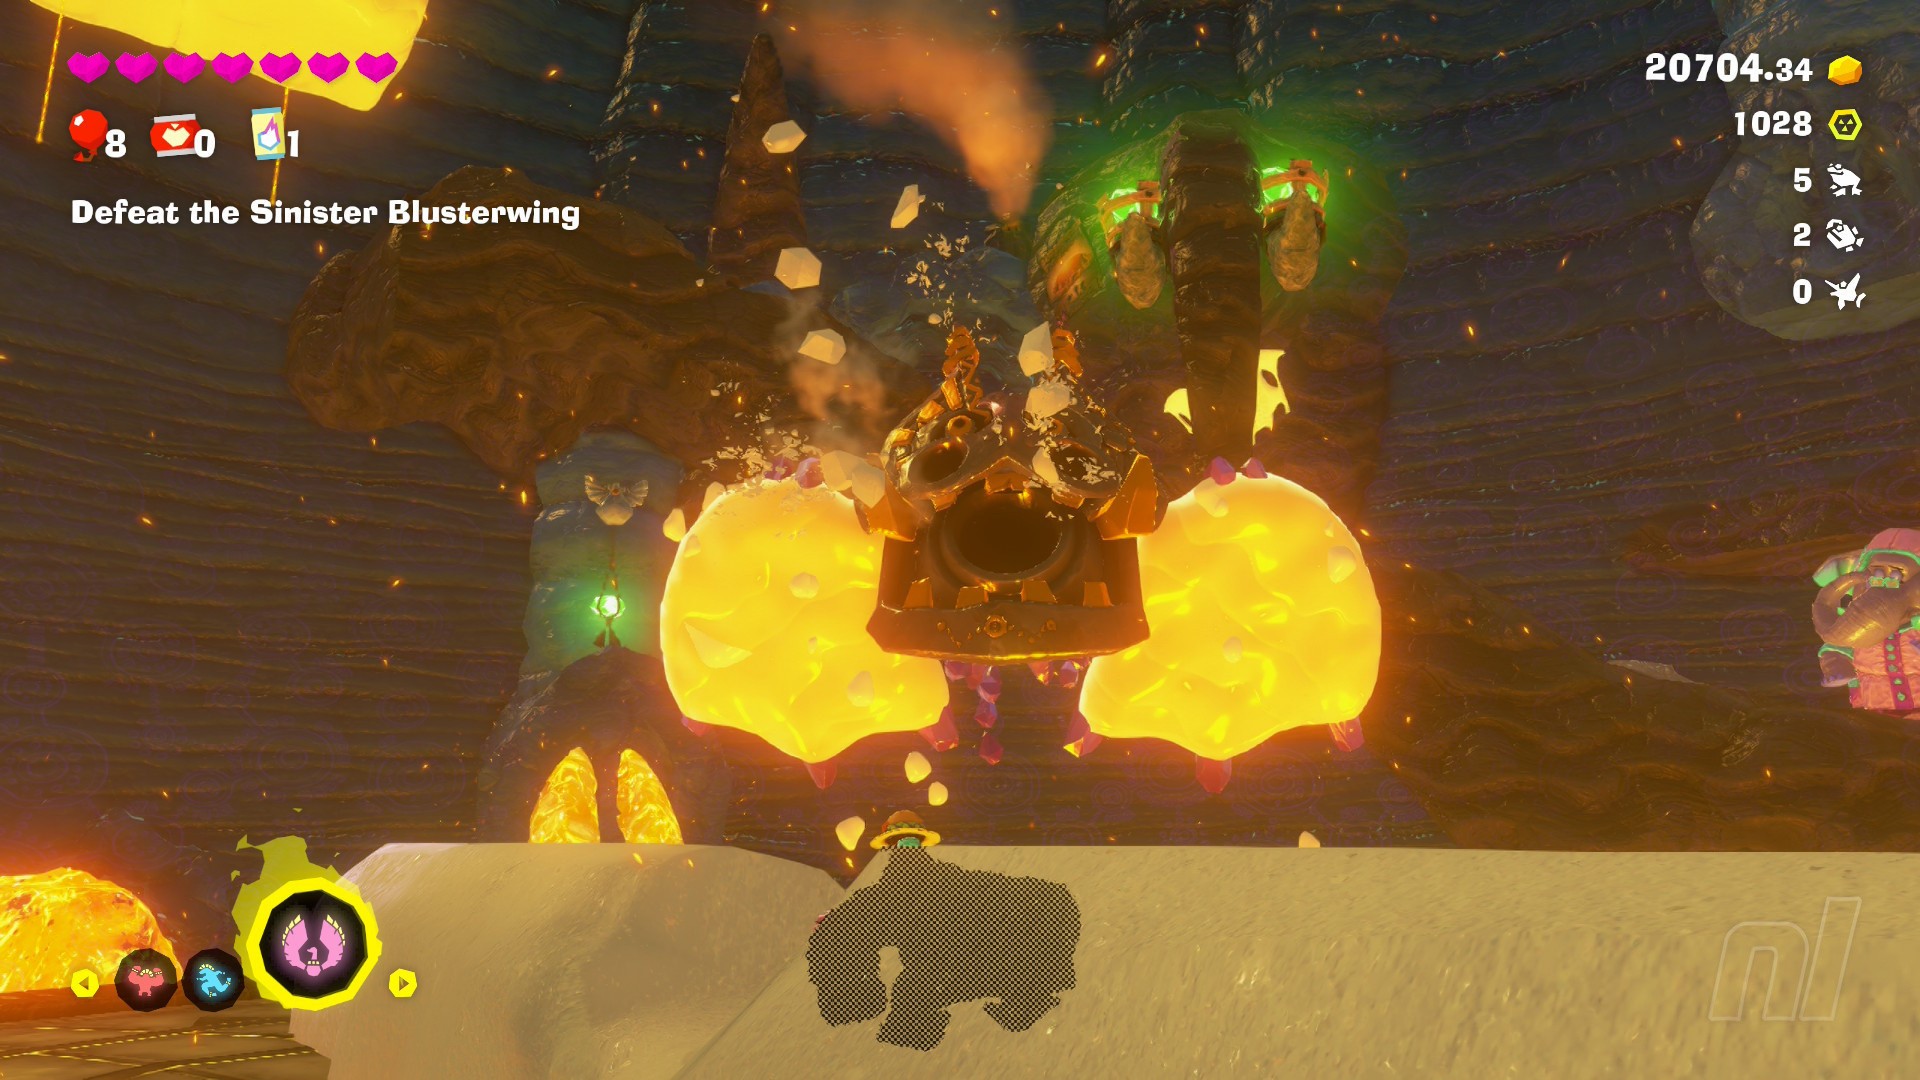
Much like the smaller winged enemies you've fought up to this point, the trick to Sinister Blusterwing is to weigh down its wings, then dish out the damage once it's on the floor.
That's not to say this is an easy fight, mind you. The boss will kick things off by spewing lines of terrain onto the floor, and you'll want to use a well-timed dodge to make sure you're not caught in the blast.
Grab a chunk of the material and aim for Sinister Blusterwing's wings — all while keeping an eye out for the summoned purple tornadoes. While you're in the process of pinning down both wings, the boss may let out a screech, which will blow you off the battle arena if you're not careful. Put a wall between you and the Blusterwing in these sequences to avoid getting pushed back.
Once you've landed material on both of its wings, the Sinister Blusterwing will fall to the ground, giving you the chance to go to town on it.
With that out of the way, the boss will retreat down a level, and you should follow it.
Phase 2 - SL901
The second phase on SL901 is much the same as the first, but you now have the Elephant Bananza on your side.
Rather than ripping up chunks, use Elephant Bananza to inhale the gold material and throw it at the Blusterwing's wings for an explosive impact.
You'll need to keep an eye out for tornadoes and projectiles again, but the additional transformation makes this one a fair bit easier than its predecessor.
Phase 3 - SL902
The third and final phase takes place on SL902, in the stormy station. You know the drill by now — hit the wings, punch it when it's down — but there are a couple of extra challenges this time around that you'll need to look out for.
First and foremost, the Sinister Blusterwing can now shoot lightning. Look out for the static charge areas on the floor, and dodge the strikes while you use Elephant Bananza's chunks to take out the wings.
The boss can also summon a huge tornado in this phase, which renders all of your throws useless. Save your ammo during these sections, and wait for the Sinister Blusterwing to fly past you as normal to chuck out a chunk.
With both wings down, follow the Blusterwing body through the floor to SL903, and hold 'B' to deliver the finishing blow.
The Blusterwing looks a lot less sinister now, eh? Check out our Boss Guides hub for help with the other big bads in the game, and you can even swing over to our full Donkey Kong Bananza Walkthrough for more hints and tips.


Comments 0
Wow, no comments yet... why not be the first?
Leave A Comment
Hold on there, you need to login to post a comment...