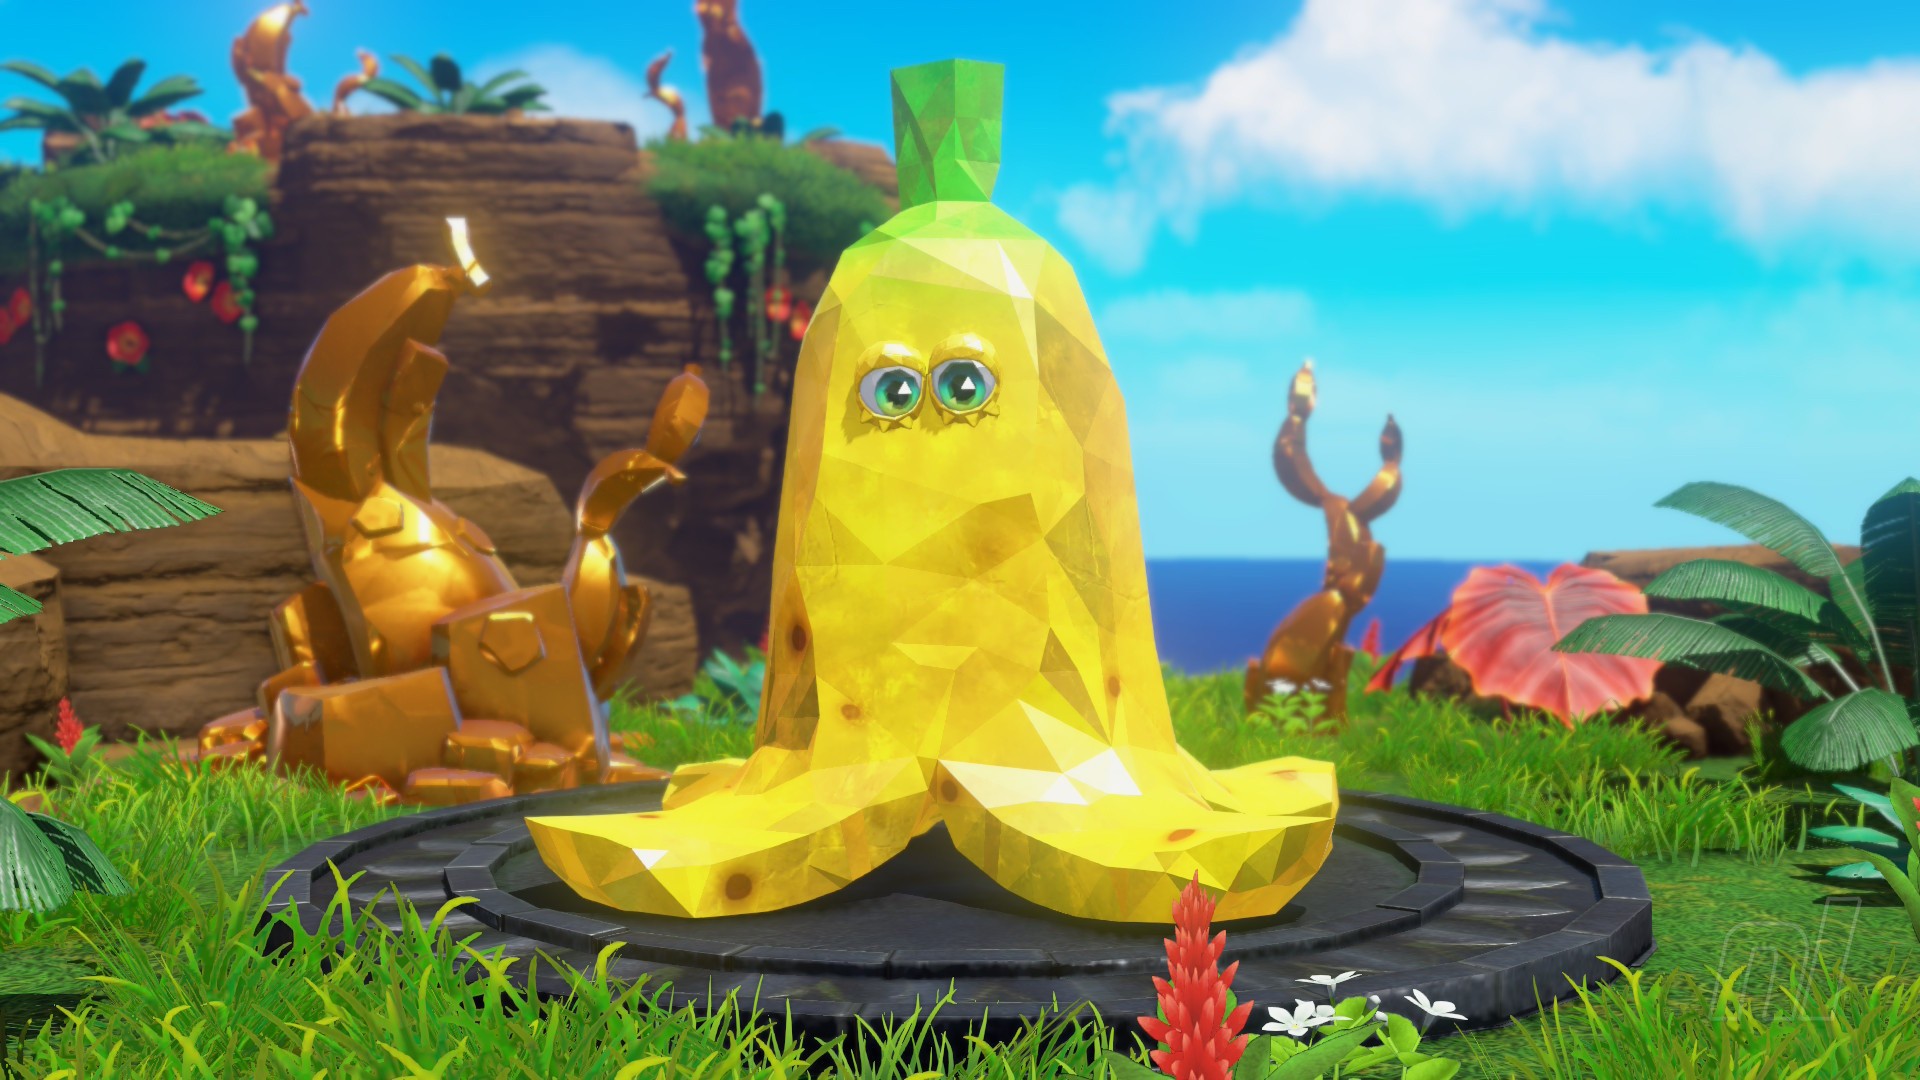
One neat little surprise in the Donkey Kong Bananza DLC is Banandiumtone. This Banana-shaped Fractone can be found hanging out on DK Island, communicating through a series of strange symbols.
Cracking the mystery behind these symbols will open up another puzzle with a different set of rules. Make it through all eight puzzles and there's an outfit reward waiting for you at the end.
These puzzles can be rather obscure, so we've assembled the following guide to walk you through each of them.
Subscribe to Nintendo Life on YouTube834k
How To Find Banandiumtone
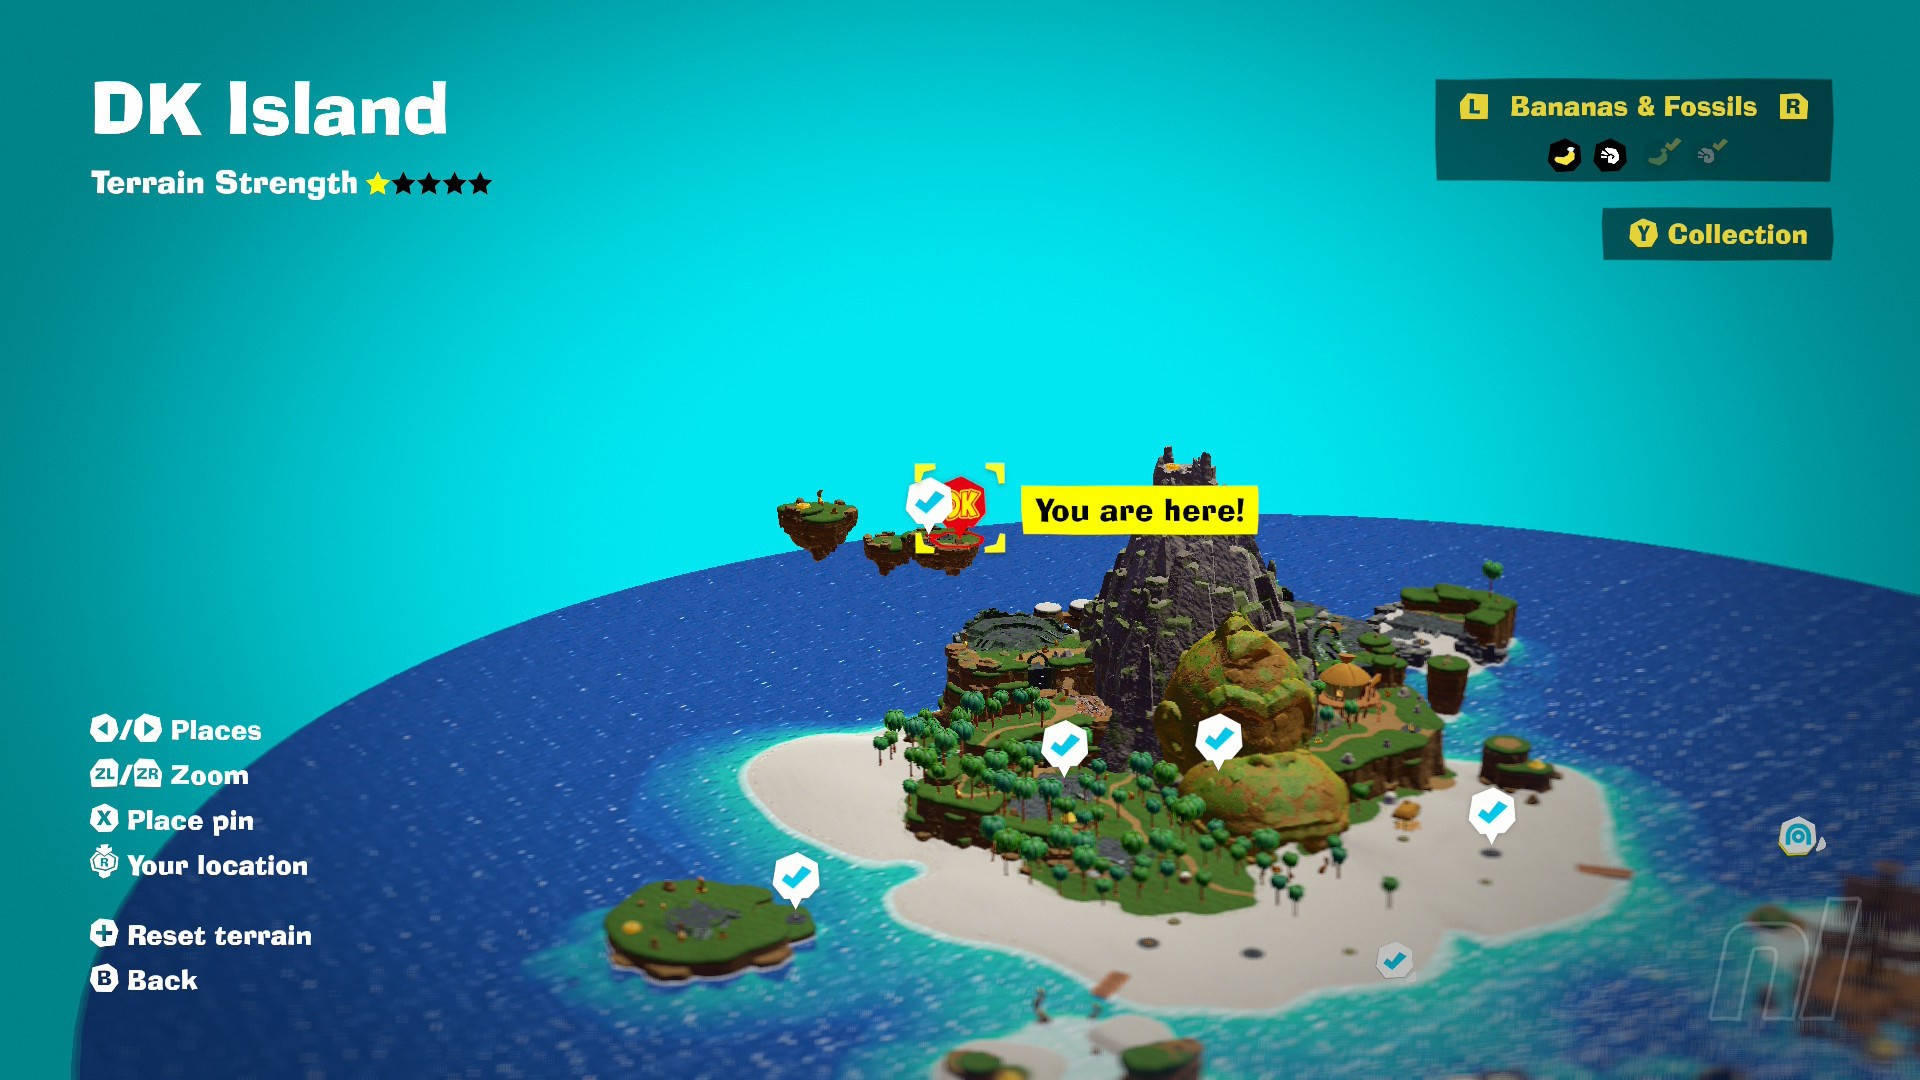
You can find Banandiumtone, rather fittingly, near the Banandiumtone's Floating Islet checkpoint.
To get to this floating platform, follow the path through the Jungle Ruins at the base of DK Island and hop into the Barrel Cannon in the rocky area at the top. This will take you straight up to the checkpoint, where Banandiumtone is waiting.
All Banandiumtone Puzzle Solutions
Every Banandiumtone puzzle comes with its own set of rules. You'll find the answers to each in the walkthrough below.
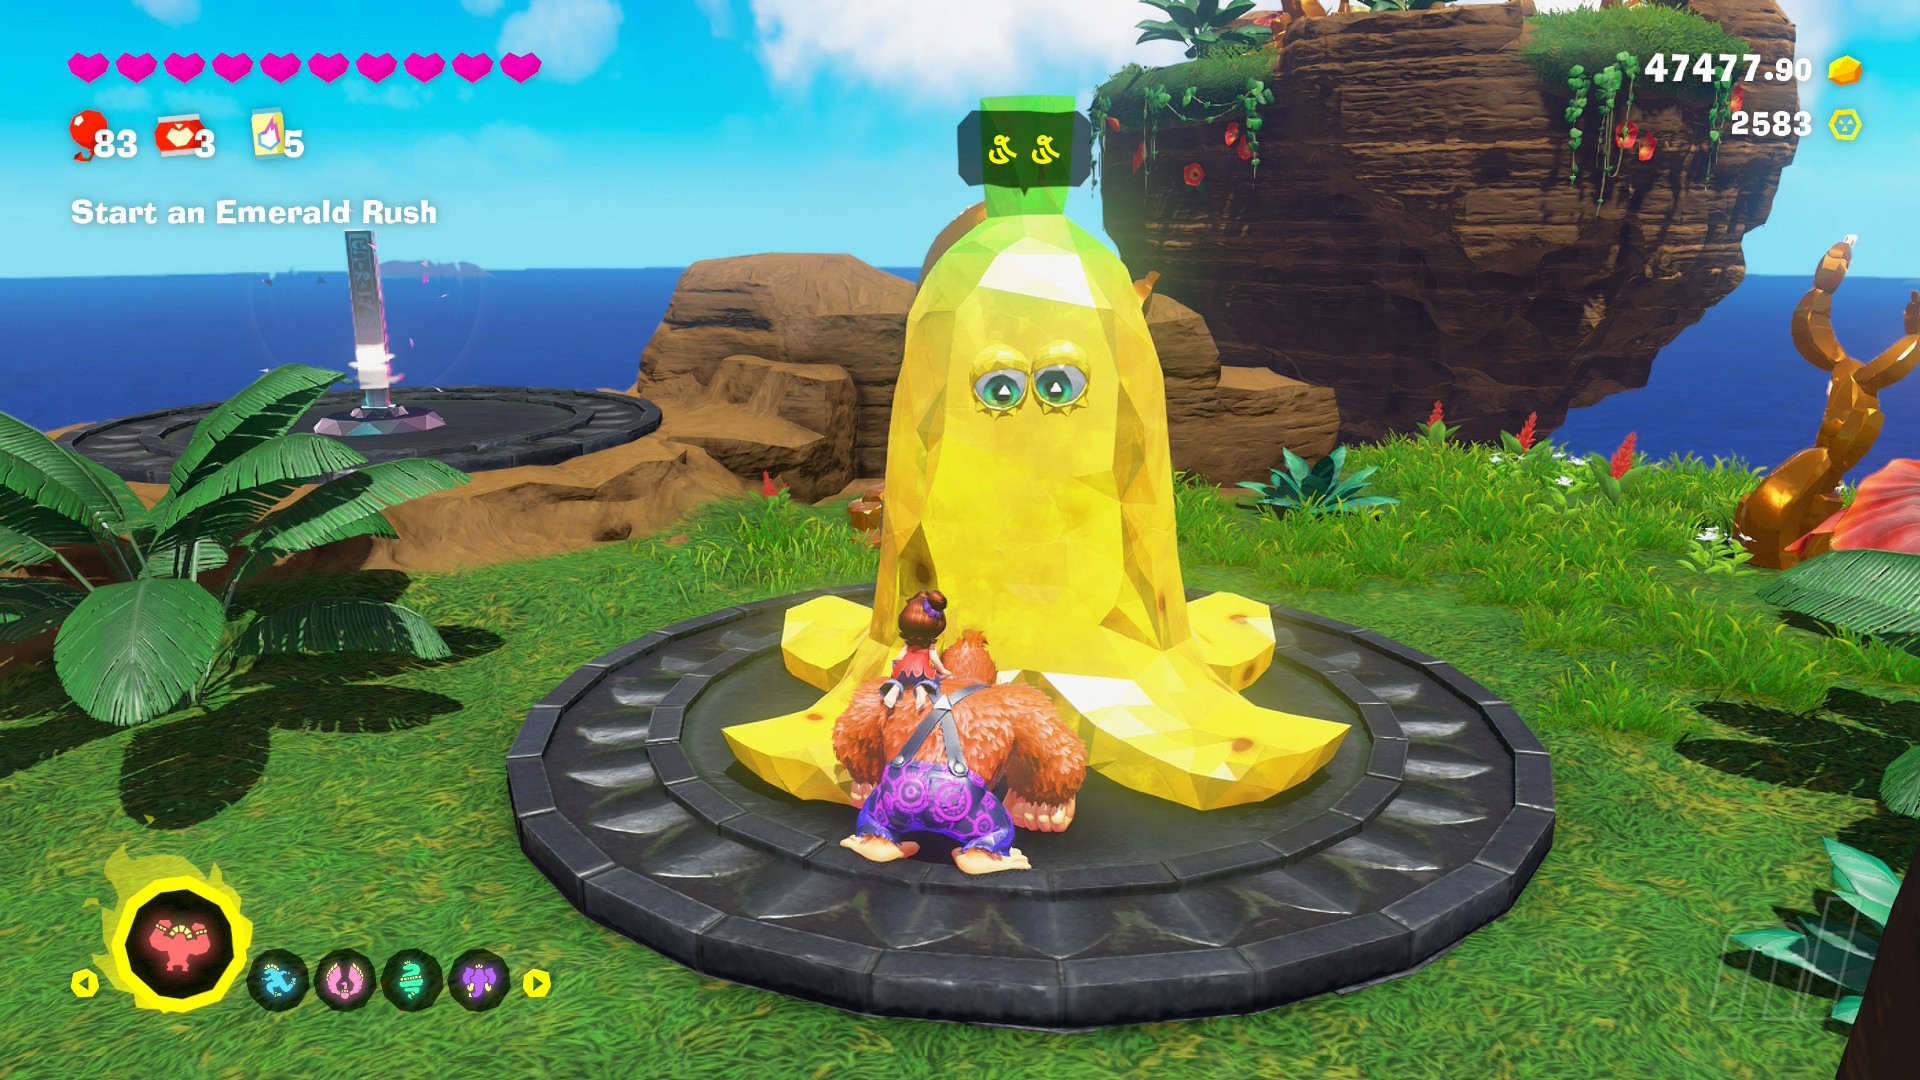
Puzzle One
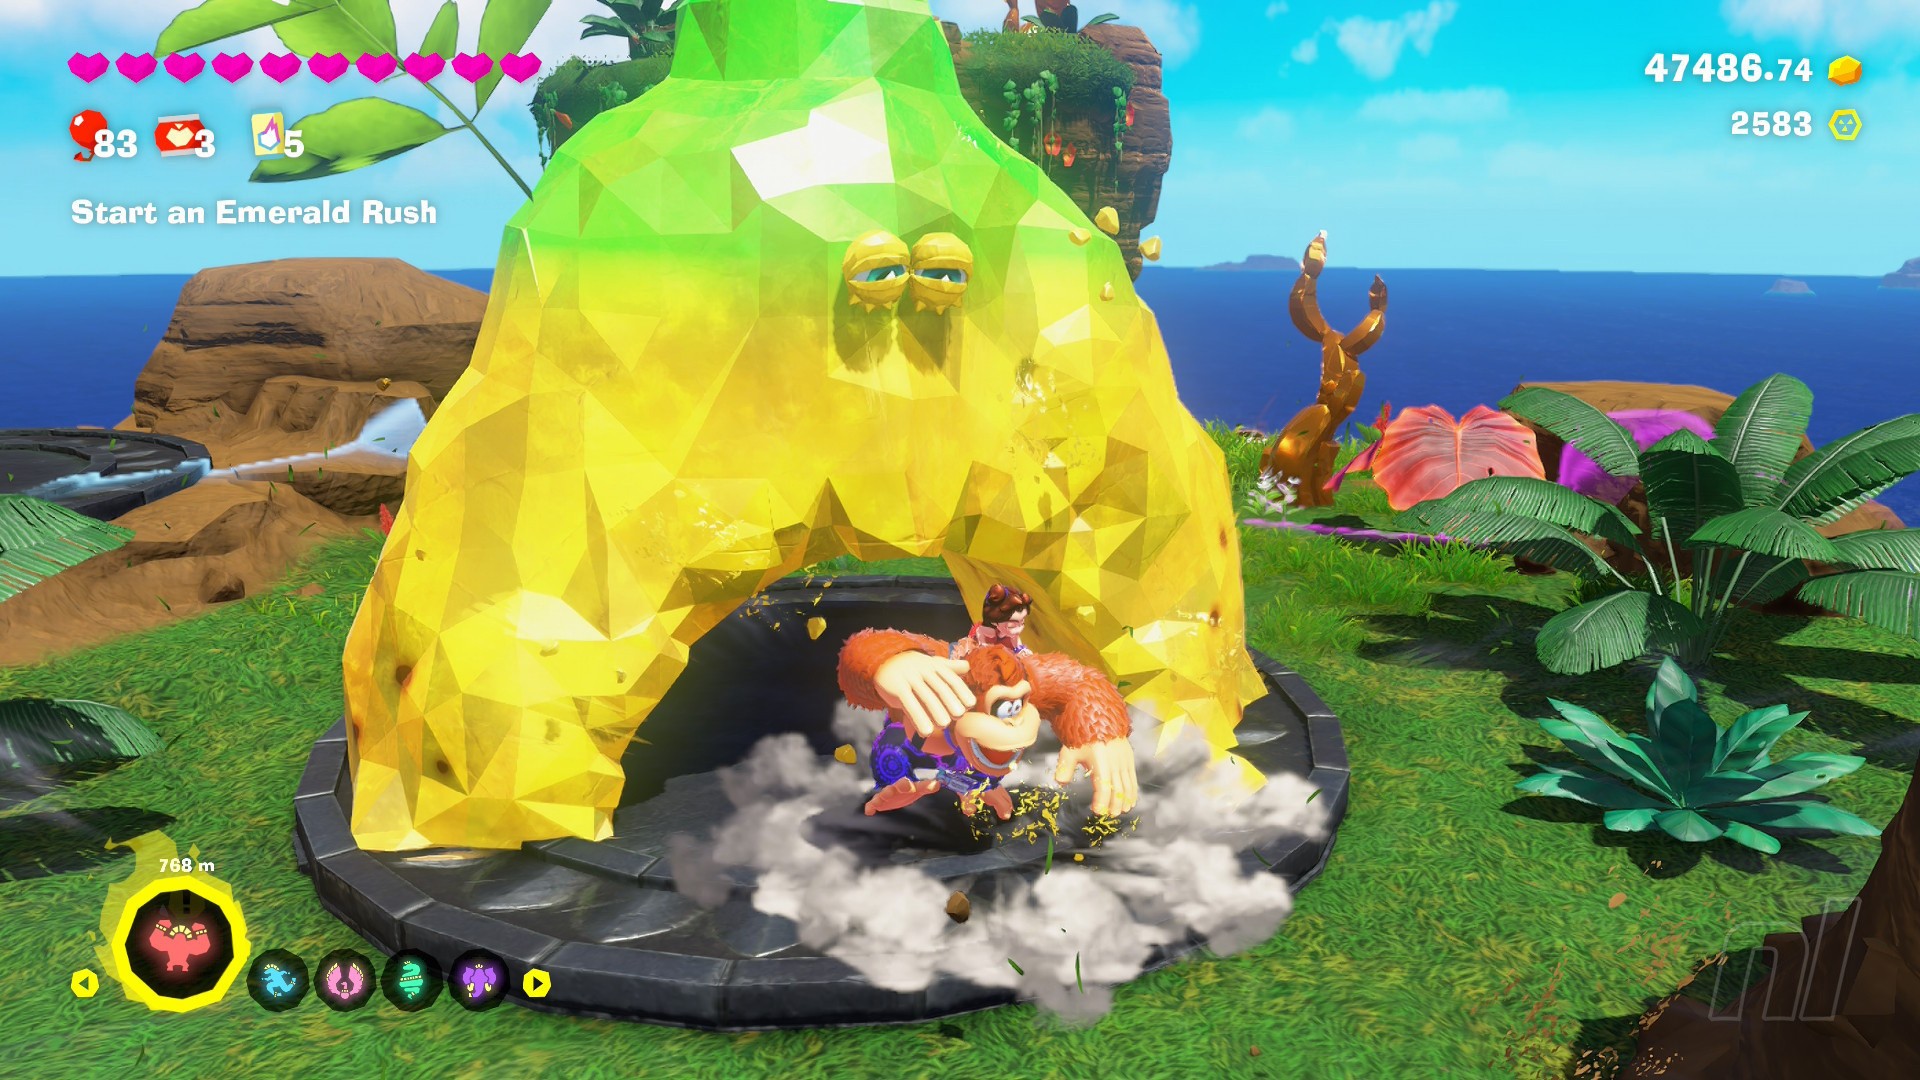
The first puzzle is as simple as they come. Punch Banandiumtone to cycle the symbol above its head. When it lands on the single yellow symbol, wait for a second, and you'll be rewarded with some gold. Easy!
Puzzle Two
Puzzle two has the same objective as the first (cycle to the yellow symbol), but you have to be crafty in getting there.
This time, the symbols alternate with every punch you make, with one corresponding to DK's left fist, and the other to his right. To get both symbols to turn yellow, either detach the Joy-Con and swing the relevant hand to only cycle one symbol, or punch Banandiumtone with one fist, then turn away and swing into the air with the other, before returning with the same fist you punched the banana with last time.
After you have hit the yellow symbol on both the left and right sides, it's onto the next one...
Puzzle Three
There are three symbols this time, all of which need to be turned yellow to progress.
For this one, you'll need to use Hand Slap to switch between symbols one, two and three. Punch Banandiumtone until a symbol turns yellow, then use Hand Slap to repeat the process for the second and third ones.
Puzzle Four
The solution to puzzle four all comes down to the direction that DK is facing when he punches Banandiumtone. You'll need to swing at the big banana from all four directions to change each one of the symbols to yellow. Once a symbol is set, move 90 degrees around Banandiumtone and repeat the process.
Puzzle Five
Okay, this one is a nightmare. This time, the symbols change based on which Bananza transformation you have selected in the bottom left of the screen (Note. You only need to have the transformation highlighted to change the symbols, so there's no need to transform yourself to get to the goal).
The difficulty with this one is that each Bananza transformation moves three of the five symbols. You can find which symbols are affected by each Bananza form in the list below, but we'd be lying if we said that there wasn't a fair amount of trial and error on our part getting the full sequence to turn yellow.
- Zong Bananza - symbols 1/2/5
- Zebra Bananza - symbols 1/2/3
- Ostrich Bananza - symbols 2/3/4
- Snake Bananza - symbols 3/4/5
- Elephant Bananza - symbols 1/4/5
Puzzle Six
Puzzle six requires some major legwork, but at least it's kinder than its predecessor. Punching Banandiumtone this time will shift all the symbols, and you'll have to complete the DK Island Bonus Gold Stages to lock them in.
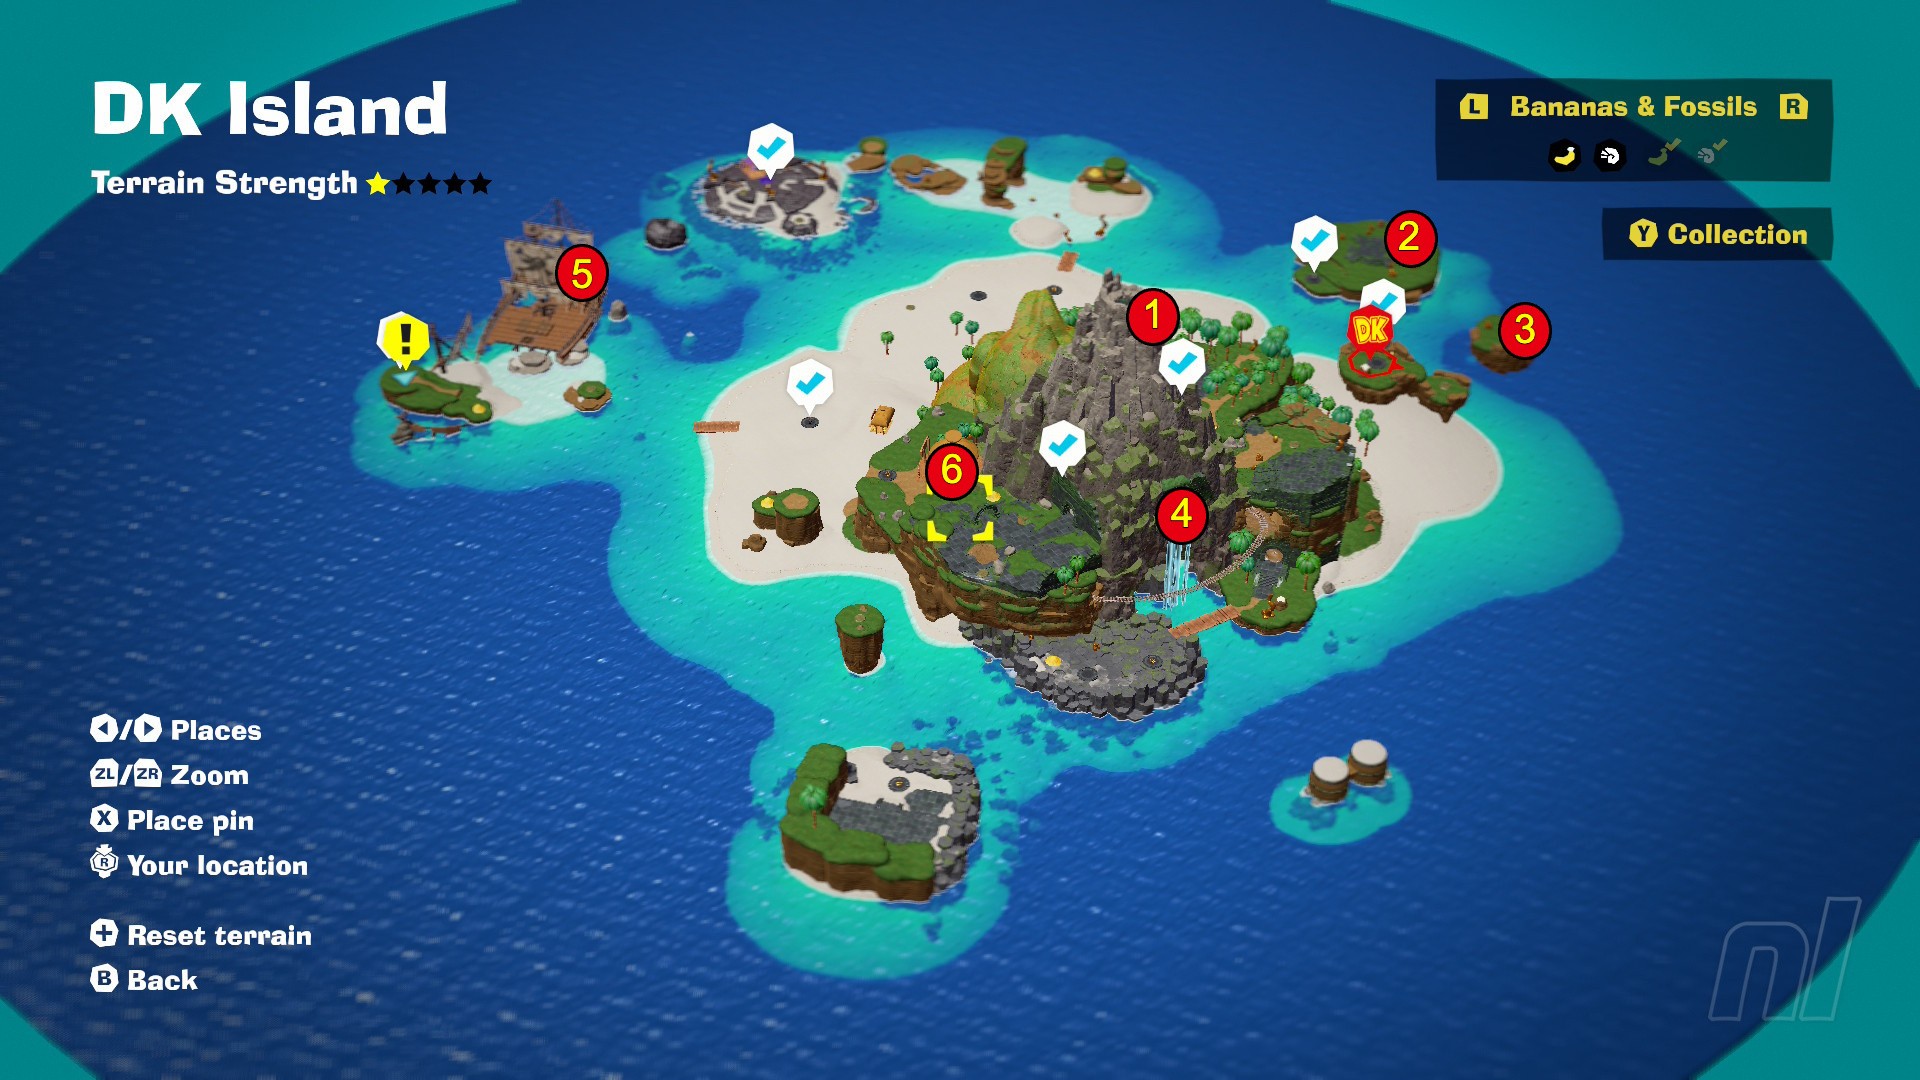
Punch Banandiumtone until a symbol turns yellow, then head to the Bonus Stage outlined on the map below to lock in the specified slot (the number 1 refers to the first symbol slot, 2 to the second etc.).
Puzzle Seven
To complete the seventh puzzle, you'll need to hit Banandiumtone in seven different ways in a very specific order.
Different attacks produce a different symbol, which starts in the far right symbol slot and gradually works its way left with each successive hit. The puzzle is only complete when each slot has the right symbol in it, so messing up the following order means that you'll have to start again.
Hit Banandiumtone with the following moves to get everything in the right place:
- Down Punch
- Spin Jump with a chunk (only hit once)
- Roll
- Spin Jump with a chunk (only hit once)
- Roll
- Grab
- Spin Jump with a chunk (only hit once)
Puzzle Eight
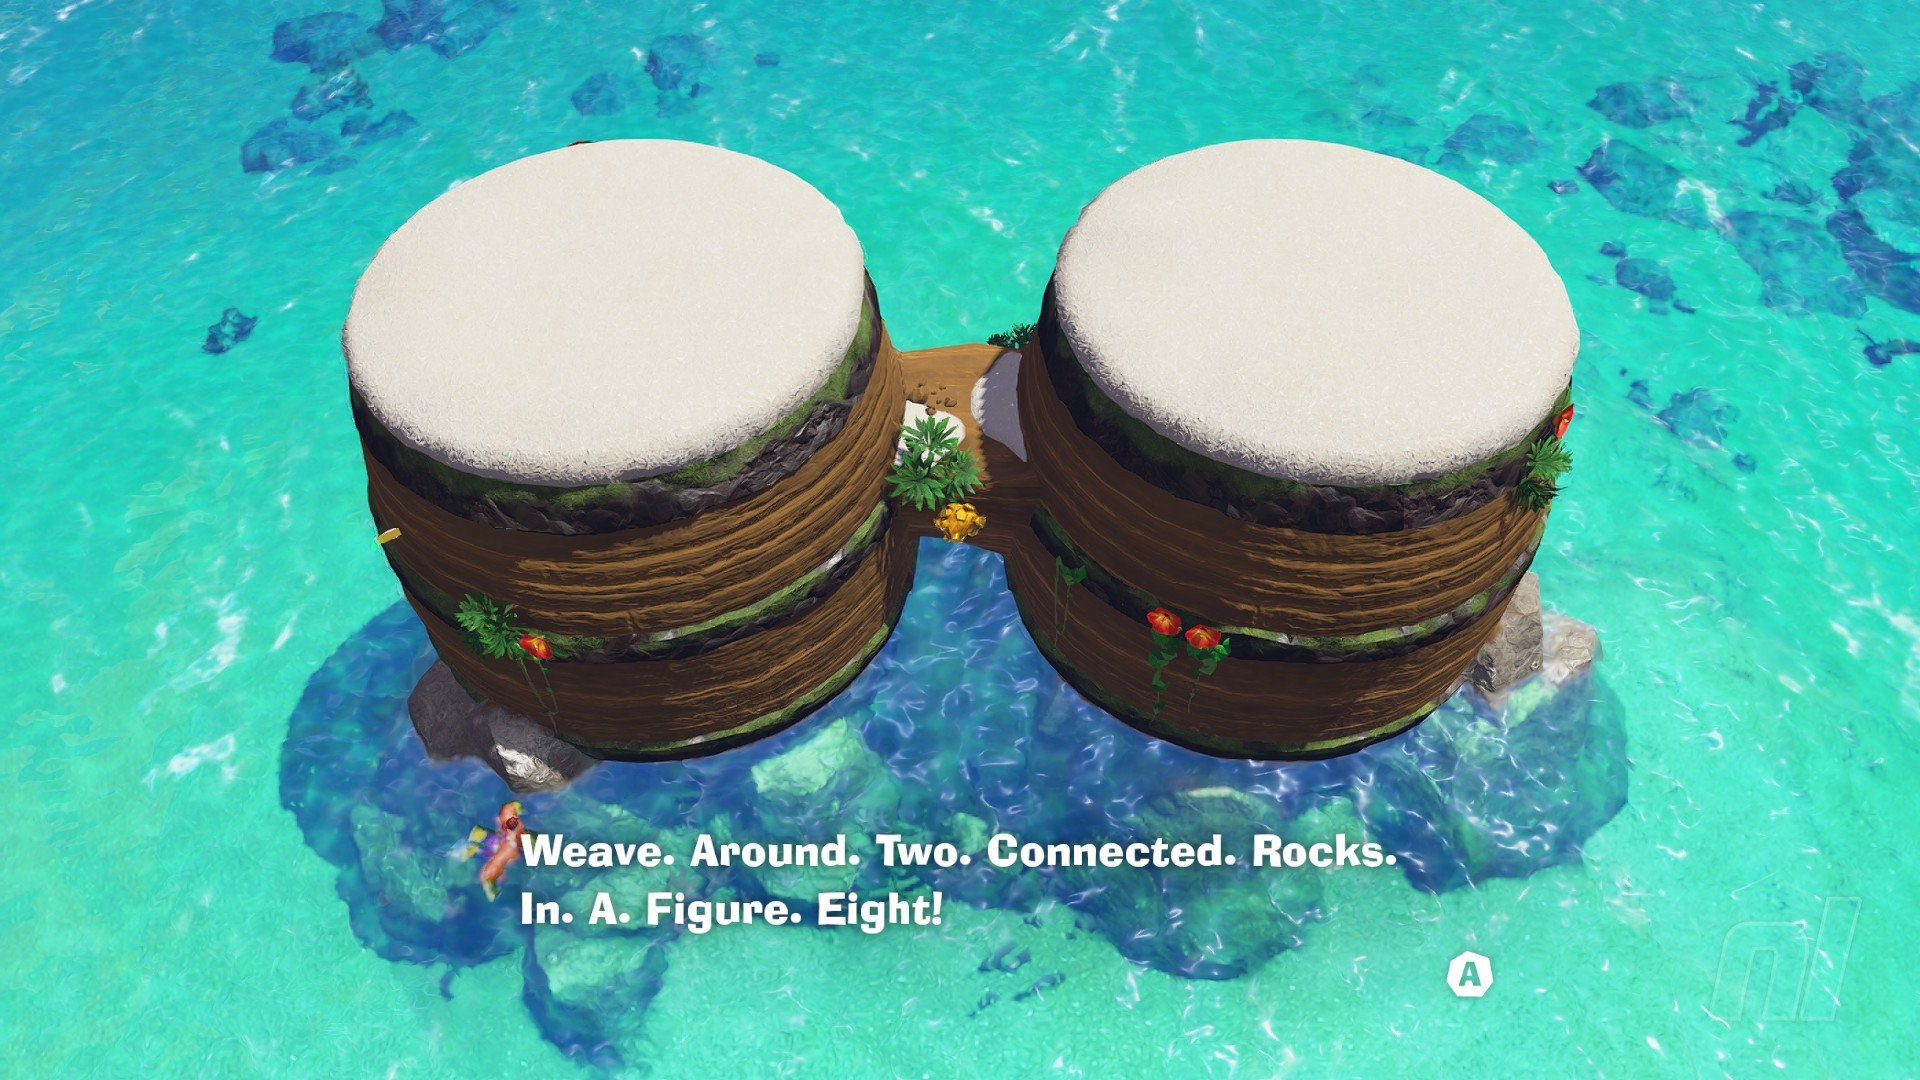
The final puzzle is one of the more straightforward ones, ironically. To complete this one, leave Banandiumtone's island and head for the rocks shaped like the DK Bongos in the sea. Swim around the bongos in a figure of eight and you're all done! You'll be teleported back to Banandiumtone to receive your reward.
What's The Reward For Solving Banandiumtone's Puzzles?
After finishing all of that, Banandiumtone will reward you with the Quick-Change Tie, a new piece of neckwear that changes DK and Pauline's outfits at random.
It's not a tie that you can actually see, per se (since it always randomly selects another piece of neckwear), but it's a fun addition for those after a randomised challenge.
And there you have it! For more assistance with the DLC, be sure to check out our Emerald Rush Tips guide, and we have even more helpful advice for the base game in our full Donkey Kong Bananza Walkthrough.


Comments 0
Wow, no comments yet... why not be the first?
Leave A Comment
Hold on there, you need to login to post a comment...